Wall-mounted boot rack
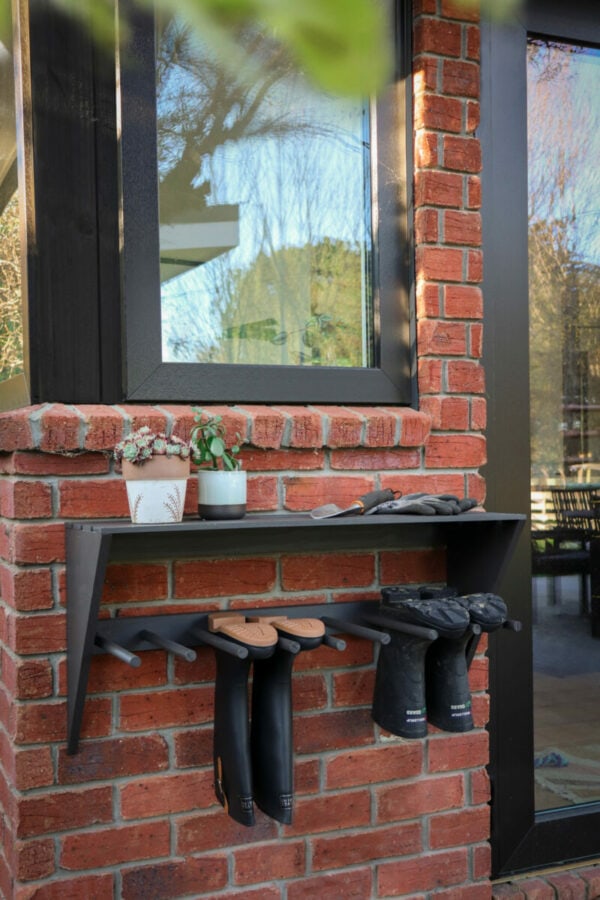
Perfect for clearing clutter and allowing your boots to dry out, this attractive rack comes complete with a handy shelf. Words & Photos Klaudia Krupa
You will need
Materials
• 20mm x 900mm dowels (x 3)
• 35mm external screws
• Masonry anchors (if needed)
• Resene Lumbersider, tinted to your choice of colour (we used Resene Ironsand to match the roof colour)
• Timber in the following sizes:
»» 280mm x 900mm x 18mm board
»» 60mm x 900mm x 10mm slats (x 4)
»» 65mm x 860mm x 32mm length of board (x 2)
• Wood glue
Tools
• Drill and drill bits (2mm, 20mm)
• Drop saw
• Masonry drill bit (if needed)
• Paintbrush
• Pencil
• Sandpaper
• Tape measure
Instructions

Step one
Measure, mark and cut your 280mm x 900mm pine board down to 280mm x 450mm.
Step two
Cut the 280mm x 450mm pineboard in half diagonally, making two triangles, as shown.
Step three
Cut the three 900mm dowels into thirds, creating nine 300mm dowels.
Step four
Measure halfway along the width of the 860mm pine board, so 32.5mm up from the bottom, and draw a line across the entire length. Then, make a mark 70mm along the line, followed by eight points 90mm apart.
Step five
Pre-drill pilot holes at each mark.

Step six
Using a 20mm drill bit, drill into the board using the pilot holes as guides. Be careful not to drill all the way through – you only want to drill until the tip of the drill is just poking out the other side.
Step seven
Sand down any rough edges.
Step eight
Line the holes with wood glue and push the dowels into place. Wipe off any glue that spills over.

Step nine
Secure the dowels in place by screwing into them from the back of the board. Use the holes left by the 20mm drill bit in Step Six as a guide to centre the screws. Allow the glue to dry.
Step ten
Screw the two 860mm lengths between the two triangle panels, with the dowel length 200mm up from the bottom and the second length aligned at the top, as shown.
Step eleven
Screw the four 60mm x 900mm slats for the shelf on to the other straight edge of the triangle, 13mm apart.
Step twelve
Apply two coats of Resene Lumbersider tinted to Resene Ironsand, allowing to dry between coats.
Step thirteen
Hang the boot rack into position by screwing through the top 860mm length. If screwing into brick like us then use a masonry drill bit and anchor.